Does anyone else feel like they’re about to lose their minds from boredom due to this quarantine? I feel like my days are just drifting away. I don’t know if it’s Friday, Monday, or Wednesday. I feel like my days, nights, weeks, and weekends are all running together.
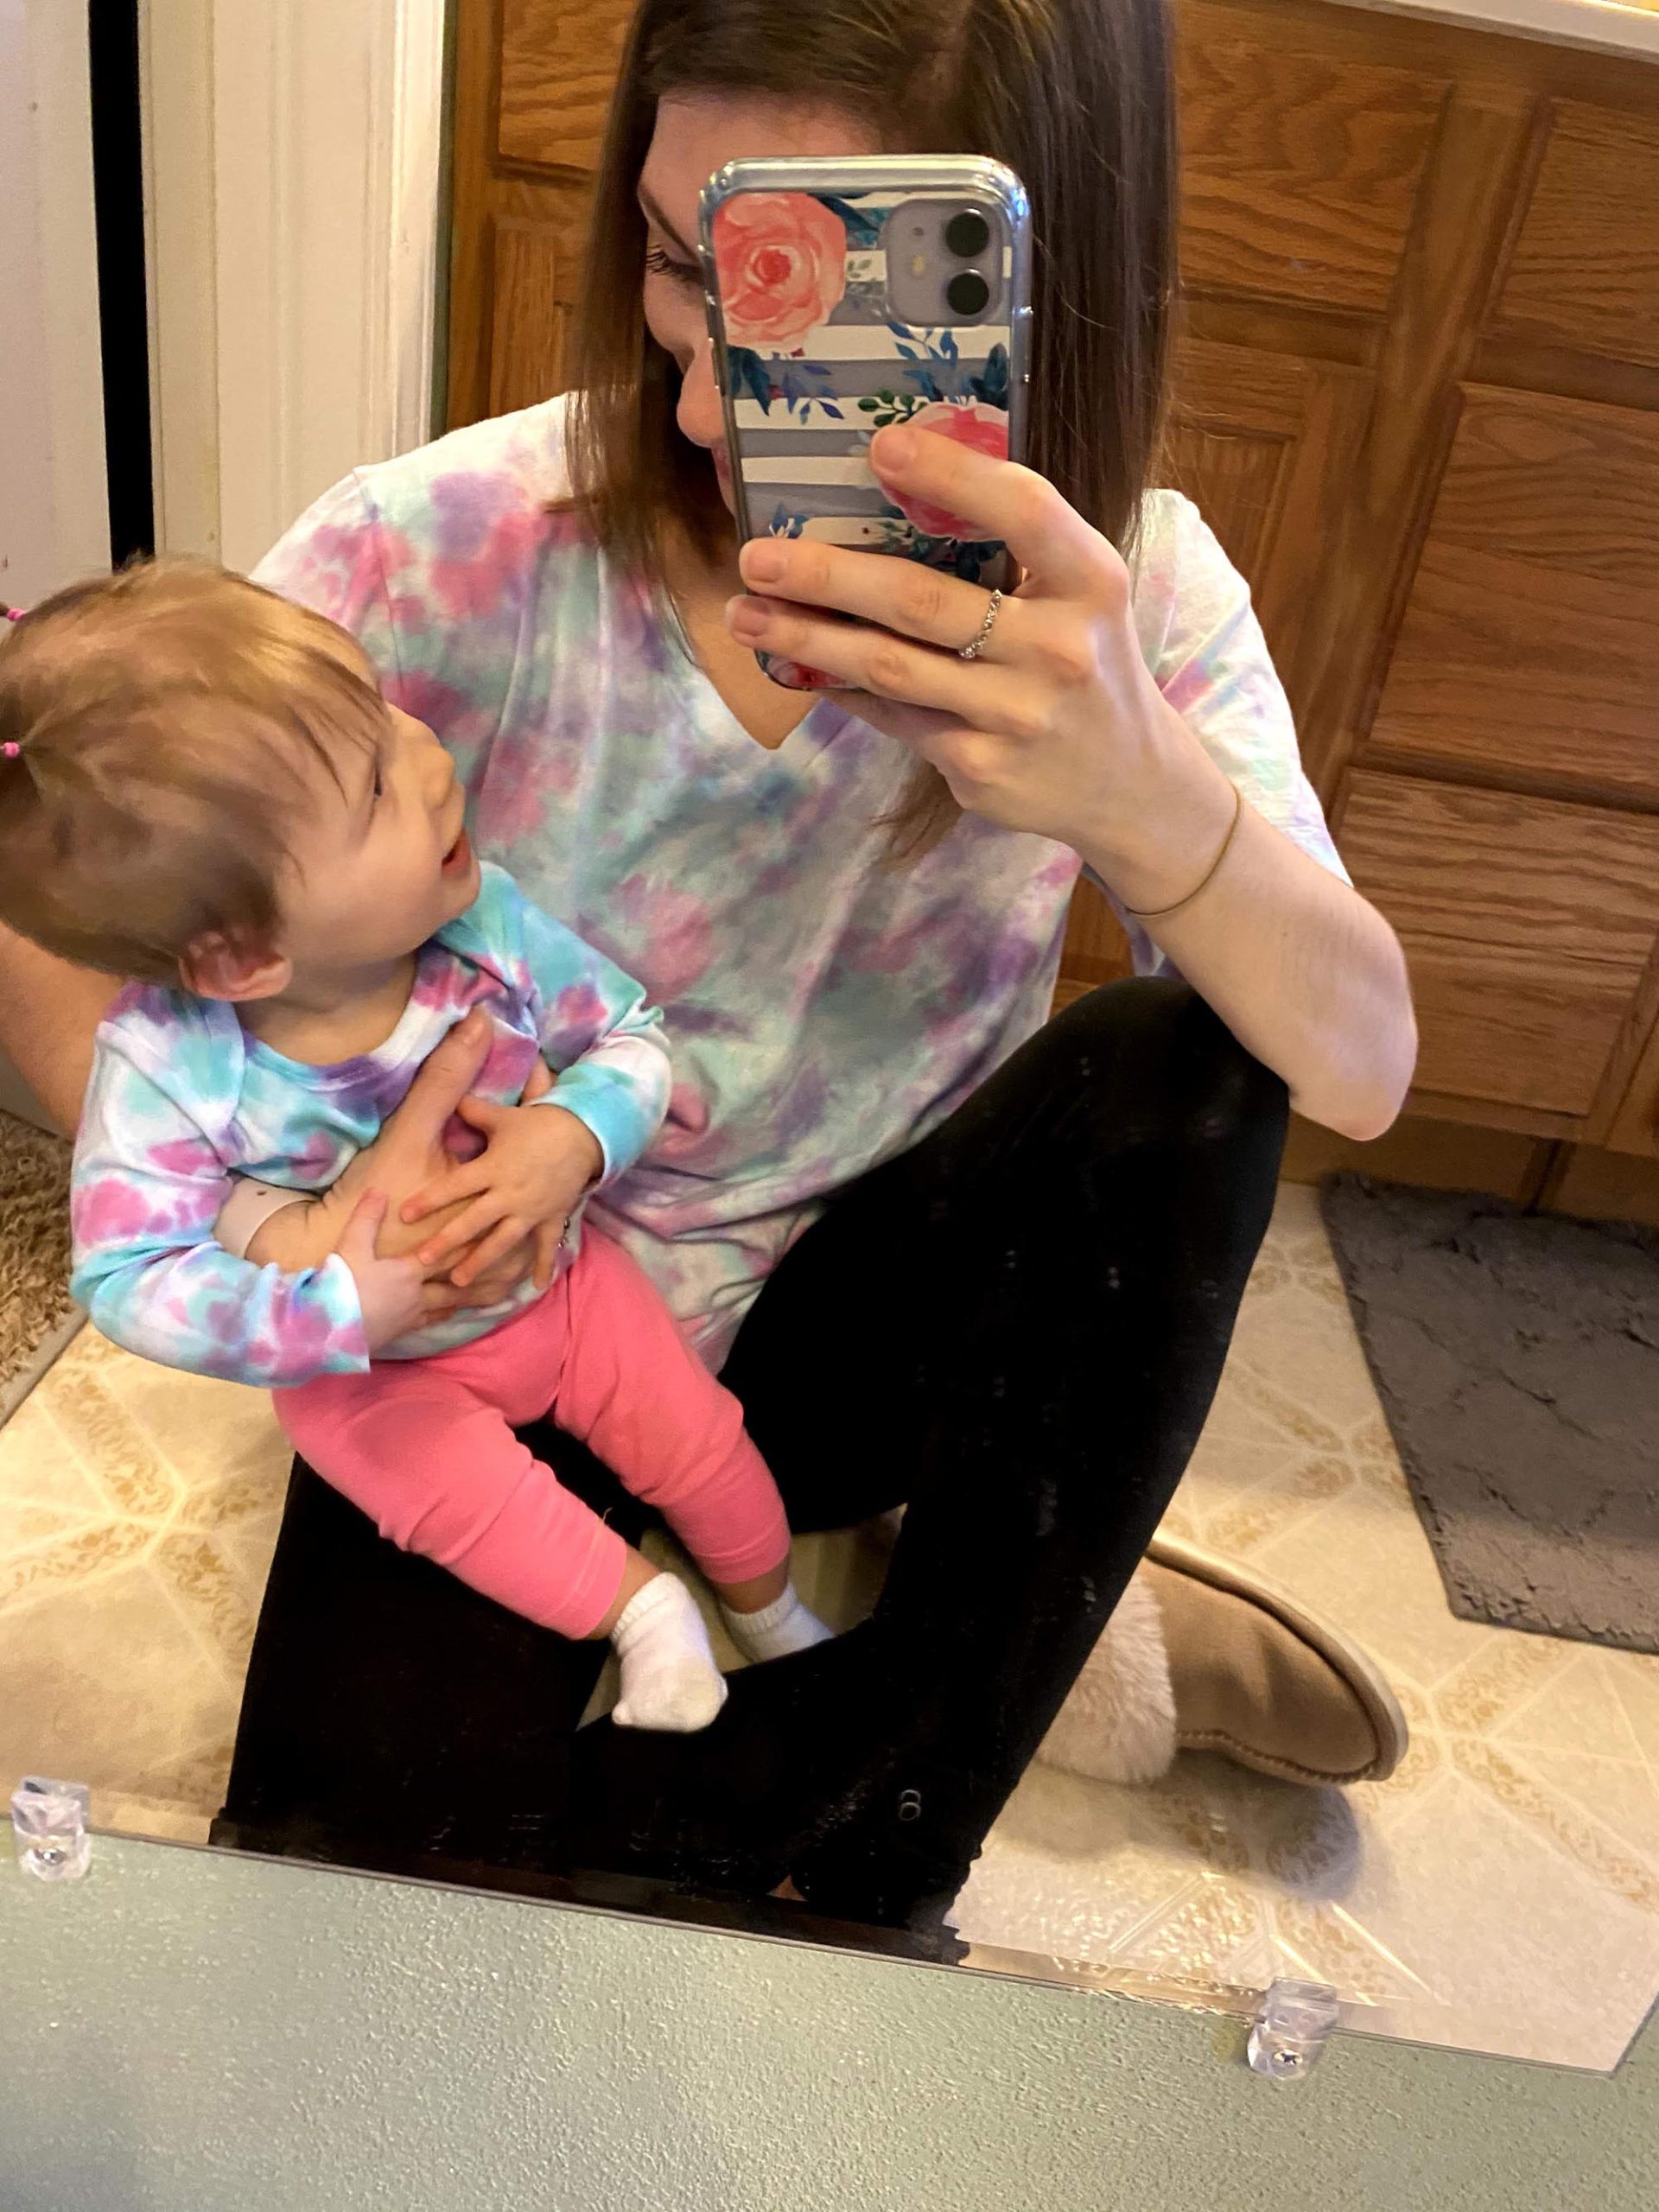
To help me stay active and keep my mind engaged in more than just the same merry-go-round routine, I decided to do a DIY tie-dye project. I’ll admit, I wasn’t sure how it was going to turn out. But, I figured it’s tie-dye, kinda hard to screw up. Well, I’m here to say I’m super pumped with how it turned out!! So much so, that I wanted to share it with you all. Keep reading to see the process and the final product.

For my project, I thought it would be super fun to do a mommy and me matching set. So, I got some white onsies for my little one and (uhm) stole one of my husband’s undershirts (sorry honey).
The tie-dye I purchased is from Walmart (follow link here to purchase). This tie-dye kit was super easy to use. It comes with everything you need. All you have to do is add water!

You will also need plastic wrap, plastic bags, and a drying wrack. The drying wrack is to place the shirts on so the dye doesn’t collect under your shirt and mess up your design.
The tie-dye look I was after was more of a pastel look so instead of using the full strength that was provided in the bottle, I dumped half of the powder out and saved it for another day. I still filled the bottle with water all the way up as directed.
For our shirts, I did the crumple pattern. I wanted the shirt to have just a variety of colors everywhere with no real design or patterns. Of course, chose the pattern that you really like. Have fun with it and make it your own!
To do the crumple pattern, lay shirt flat and this bunch it up starting from the middle. Place rubber bands around shirt to keep it crumpled up.

To prep the shirts, make sure you wash them if they are new. This prevents any shrinking later. Plus, it helps with the next step which is to get the shirts damp. This helps the dye soak into the shirt. You can do the project without wetting the shirt but you’ll have to use more dye to get it to soak in.

After you create your design, you can take the rubber bands off to see how it looks. At this point, you can add more dye if you’re not happy with the amount of white there is or skip to the next part. I personally wasn’t satisfied with the colors so I added more here and there. I just did little squirts of dye in the areas that I felt had too much white.

When you’re completely satisfied with your shirt, wrap it in plastic wrap to keep it damp. The instructions say to let it sit for 6-8 hours. The longer it sits the more vibrant the colors. Since I was going for a more pastel look, I rinsed the dye out around 4-5 hours. Finally, once you’ve completely rinsed the dye out, it’s time to wash the shirts. Follow the instructions from the kit for this.

Ta da! DIY: Tie-Dye.

